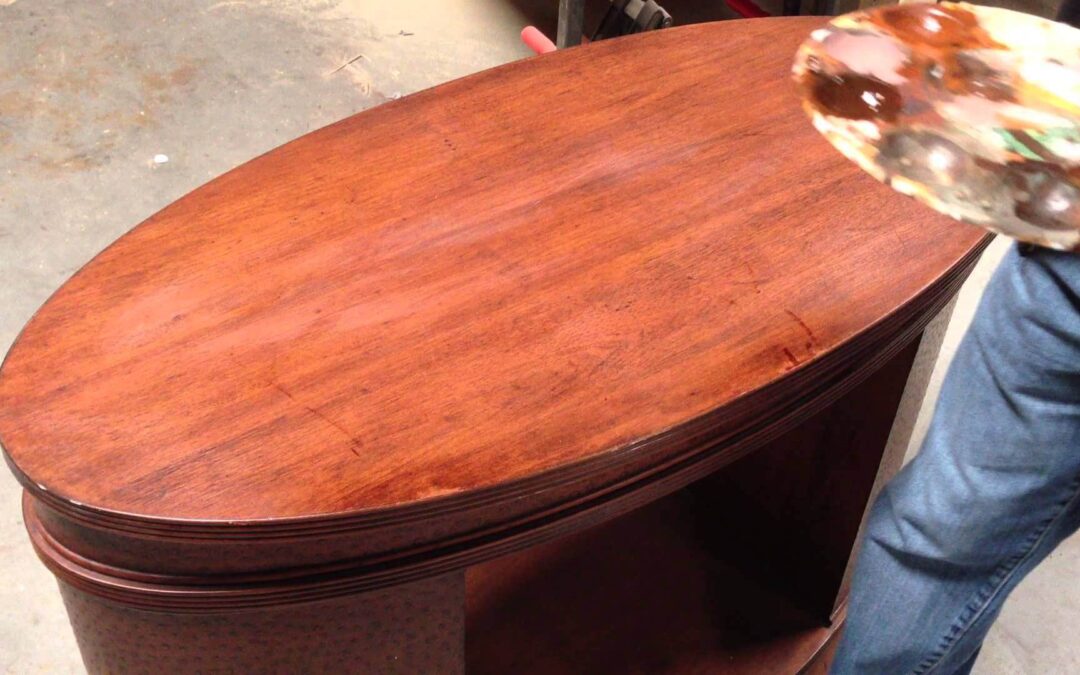
We all know how frequently the dining table is used in the house – from daily family dinners to youngsters doing their homework – so it’s no wonder that your dining table will soon start exhibiting signs of wear and tear. Hence our article about wood scratch repair. These are sometimes inevitable, but here are some simple DIY techniques and tactics to keep your hardwood table looking brand new. These guidelines apply to the table as well as any associated benches or seats.
How to Use Sandpaper to Remove Scratches From Wood Furniture
Here are some basic techniques for wood scratch repair or damaged spots on your dining table:
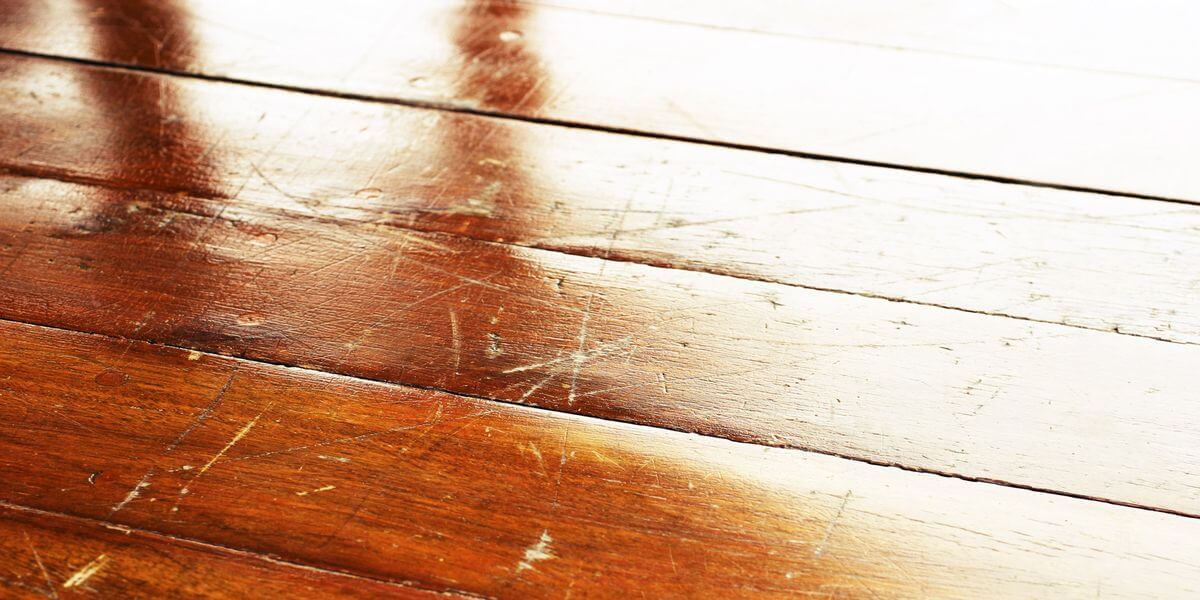
- The majority of mild or surface scratches may be eliminated by softly sanding the affected area using a sanding sponge or sanding block. Sand in the direction of the grain at all times. Because sandpaper leaves scratches on your table, the lower the grain (80, 120), the rougher the paper and the deeper the marks. By following the grain of the wood, the scratches merge in with the natural grain. If you go against the grain, the scratches will stick out rather than blend in.
- Light scratches can be erased by first using fine sandpaper (180 grit) and then blending in and minimizing the scratches created by the 180 grit. If the scratches are deeper, you may want to use a medium grain sandpaper (120 grit) before proceeding with this step.
- Finish by sanding the area with finer grit sandpaper (240 grit) in the direction of the grain to blend in and eliminate the scratches created by the lower grit paper. You should never go from coarse sandpaper (120 grit) to fine sandpaper (240 grit) since you will see the scratch marks from the coarse paper.
After you’ve removed the scratch or blemish, be sure to wipe all of the dust off the dining table before repairing it using the oiling or waxing methods described in ‘how to oil your dining table.’
When it comes to extremely minor wood scratch repair, sandpaper isn’t always necessary; you may get rid of them using common household products.
How to Remove Scratches From Wood Furniture Using Vinegar
You will require the following items to complete this task:
- White vinegar (Cider vinegar will also work)
- Olive oil
- Two soiled cotton rags
Why do we advocate white vinegar?
White vinegar is generally made up of 5% acetic acid and 95% water. These qualities not only make it an excellent cleaning solution for wood scratch repair, but they also aid in the healing of small scratches. The acetic acid will work into the existing finish surrounding the scratch to help fill it.
Why do we suggest olive oil?
To heal minor scratches, use a stronger solution of white vinegar than you would for cleaning your table. It is critical to combine the white vinegar with the oil since too much acetic acid can harm the tabletop surface. As the olive oil soaks into the exposed wood within the scratch, it will also improve the overall intended effect. This helps to produce a deeper color that matches the remainder of the finish while also preserving the wood from moisture. Finally, olive oil is a natural substance that is food safe, making it ideal for use on a surface that you eat from.
Nonetheless, we highly advise you to always apply a solution to a tiny test area first to ensure that it does not harm the top finish.
Here’s a fast 5-step method for wood scratch repair with vinegar:
- In a dish or cup, combine 100ml (one part) white vinegar and 200ml (two parts) olive oil and whisk thoroughly.
- Dip a delicate cotton cloth into the cup, allowing the solution to soak into it. Squeeze the rag so that no extra moisture drips from it.
- Apply the wet rag to the scratched area of your tabletop. After rubbing the scratched area in a circular motion, finish by rubbing the cloth with the grain.
- Allow the solution to rest on the tabletop for 2 minutes. This enables the oil to penetrate the scratches.
- Wipe away the excess solution with a clean, fresh cloth. Then massage it against the grain. Check that there is no residue on the surface.
This procedure can be done as many times as necessary until the scratches are removed. If your scratches do not appear to be disappearing, it is possible that they are too deep. If your scratches are too deep, scroll down to the following section to learn how to erase deeper marks with crayons.
How to Use Crayons to Remove Scratches From Wood Furniture
Use a child’s crayon to erase scratches that are somewhat deeper and cannot be cleaned with vinegar. Here are three reasons why a crayon is an excellent tool for wood scratch repair:
- Strength- A crayon is produced from a specific blend of waxes. These waxes have a strengthener added to them to guarantee structural strength and crayon keep together nicely. As a result, once they’ve filled the little gap or scratch on your table, they’ll solidify like the rest of the wood.
- Color selection- Crayons come in a range of colors, making it very simple to select the ideal combination. We’ve selected the closest wood colors from the Crayola collection for you. Crayola crayons in ‘Bisque’ and ‘Gold’ are recommended for natural wood color tables. Crayola crayons in ‘Light Brown’ and ‘Golden Beige’ are recommended for medium brown wood tables. Finally, we recommend ‘Fuzzy Wuzzy’ and ‘Earth Tone’ Crayola crayons for dark wood tables. If you’re not sure what color crayon to use, we recommend going darker than the real wood color of your table to achieve the most natural effect.
- Food security- Crayons are designed to be safe for children to use, yet young children like putting things in their mouths. Because the colors in the crayons are non-toxic, they are safe to use on your dining table.
Now that you know why crayons are wonderful for wood scratch repair, follow these five simple steps to accomplish it:
- Make sure your table is clean and clear of dust and dirt, particularly around the area you want to fix. If the surface isn’t clean, the wax’s adherence to the wood will suffer.
- Choose a crayon color that complements the wood color of your dining table. We recommend that you choose a deeper color rather than a lighter one, since this will help the repair fit in with the rest of the wood.
- Rub the crayon over the scratched area in both directions until the scratch is completely filled with wax.
- Scrape any extra wax from the table with a credit card. Check that the table top is now level where the scratch was.
- Buff the wax infill with a clean cotton swab to help it integrate into the surface.
This technique can be repeated as needed to produce a smooth and level surface. However, the scratches or voids may be too deep and broad to be removed using the procedure described above. If that’s the case, continue reading.
How to Repair Deep Scratches in Wooden Tables
- To fill in the deep scratch, use a specialized wood filler that matches the color of your table. You may massage it into the scrape with your finger, making sure there are no gaps of air.
- Smooth the surface and remove any extra wood filler from the table with a putty knife or an old credit card.
- Wait for the filling to dry — drying durations might vary, so read the box for exact drying times.
- On the dry area around the scratch, use fine sandpaper (180 grit or 240 grit). Always sand in the direction of the grain of the wood.
- Using the methods outlined above, apply the appropriate oil or wax.
Repairing Other Wooden Table Issues
The dining table is proven to be a versatile piece of furniture in the present atmosphere. It may be used for dining meals, as a home office desk for people who work from home, as a school classroom for the kids, or for practicing your arts and crafts abilities. This exposes your wooden table to a broad range of potential damages; nevertheless, there are numerous strategies and methods you can employ to protect your table’s health.
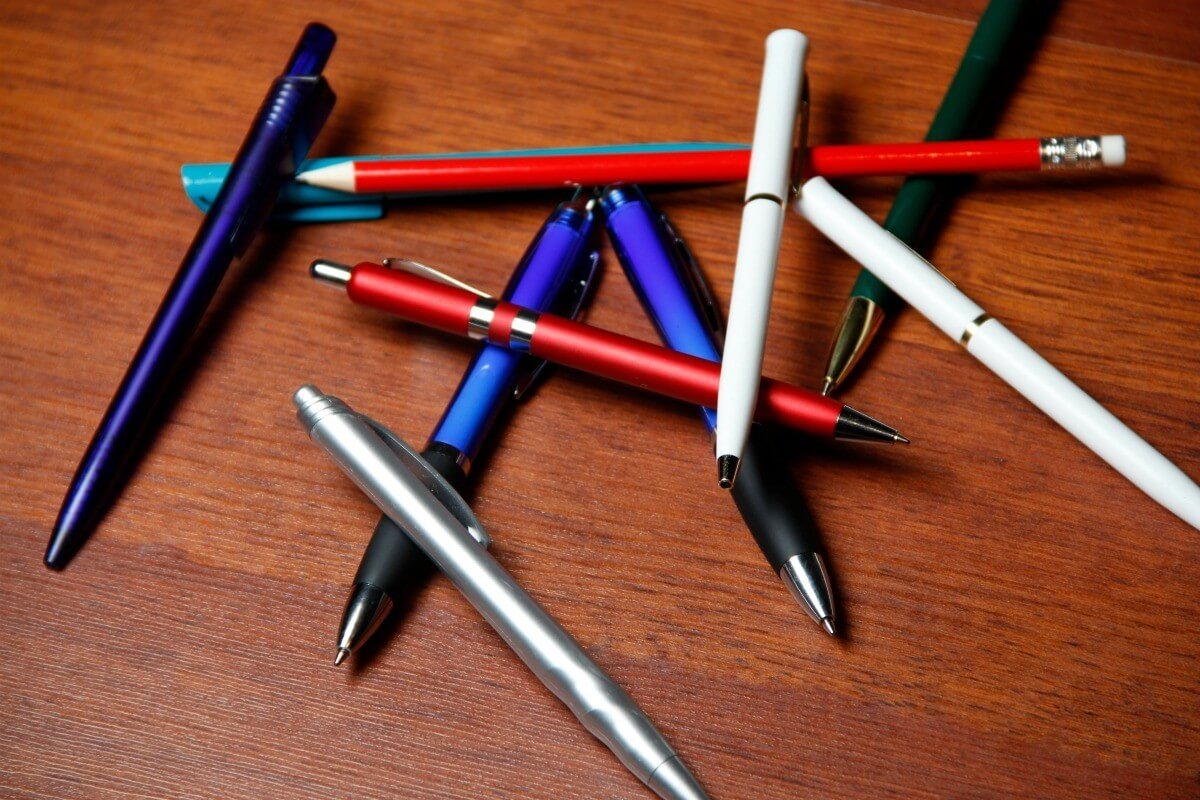
How to Get Ink Out of a Wooden Table
A dining table is an ideal location for home work and learning. However, getting ink on the surface of your dining table is a typical issue that is likely to occur.
Before we propose the ink removal method, it’s vital to note that the effectiveness of the process is dependent on how your dining table is finished. If your wooden dining table has a wax or oil finish, removing the ink can be much more difficult — the procedures following will most certainly peel the wax and oil from the ink area, requiring the area to be re-oiled/waxed. If the biro has pierced the wood, read the section ‘how to remove scratches from wood furniture with sandpaper’ and restore your table using the same method.
Varnish and lacquer finishes coat the top surface of the wood with a thick protective coating. This implies that the ink is less likely to have entered the wood, making it easier to remove.
We recommend squeezing some rubbing alcohol or even hand sanitizer on the ink stains and letting them rest for 10 minutes. If the ink appears to be caught inside the grain of a hardwood table, it is recommended to rub over the ink in circular motions using a cotton ball or cloth to assist penetrate the trapped ink.
Ensure that the table has been cleaned clean and that no alcohol remains on the table. If there are any ink residues on the table, repeat this step.
How to Get Rid of Water Stains on a Wooden Table
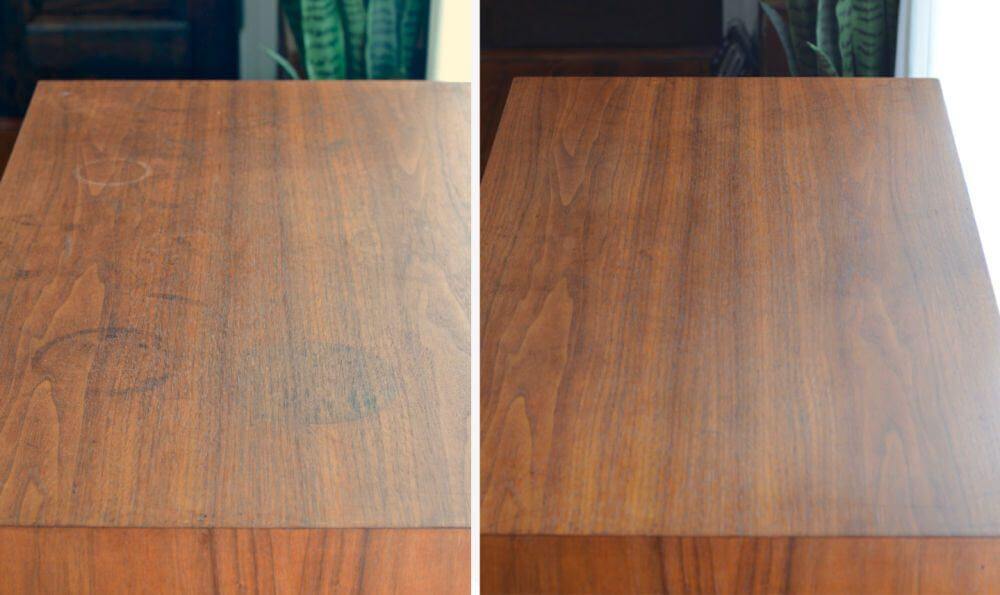
Nothing sticks out more than a white water stain on a dining table. Water stains are frequently in the shape of white rings since the primary culprit is the bottom of cold glasses or hot mugs placed immediately on top of a hardwood table. However, they are not necessarily in the form of a ring because any cold or hot item, such as hot serving dishes or dropped drinks and food, can leave markings. The hazy look of the white markings is caused by water trapped on the table’s surface finish. This is caused by either condensation from cold objects or steam from heated items.
It is crucial to notice that if your watermark is not white but rather a dark brown or black color, this indicates that water has penetrated through the finish of your table and caused damage to the wood itself. This is typically repairable by sanding the area down and re-applying a protective finish, but it depends on how deep the damage is into the wood. Follow the instructions in this article to learn how to remove scratches from wood furniture with sandpaper.
If your table has white hazy watermarks, the best thing you can do is try to remove the trapped water in the top finish. The simplest method is to use a hairdryer or heat gun to evaporate the water, allowing it to exit through the finish. Here are some easy measures to take to guarantee you remove the stains properly and without further harming your table:
- Set your hair dryer on a medium to high heat setting.
- Move it side to side over the soiled area while holding it around 10cm away from your tabletop. You should not smell any burning – if you do, reduce the heat or move away from the surface.
- After around 2-3 minutes, the stain should begin to disappear.
- Keep it on the affected area for 15-20 minutes, or until the stain has completely vanished.
If the watermark has been on the table for some time, it may not be entirely removed. We recommend that you now proceed with this step by putting a spoonful of Mayonnaise to the affected region and covering it with a kitchen towel overnight. Although it may appear strange, mayonnaise is made up of a combination of oil and vinegar. The oil will gently soak into the wood overnight, restoring the color of the table, while the vinegar contains acetic acid, which helps break down the surrounding finish, enabling the repaired area to blend in with the existing finish.
Overall, these tips and methods should help you safeguard your dining table from water stains.
How to Keep Water Rings Off a Wooden Table
Unfortunately, if you’re reading this, you’ve probably already seen water rings on your hardwood table. Here are a few of our best suggestions for avoiding water rings on a hardwood table in the future:
- You should avoid placing both cold and hot liquids straight on your hardwood table. You must protect your table from dampness and heat, therefore keep your coasters close at hand or on your table while not in use.
- Instead of placing hot or cold plates or serving dishes on on your table, use a placemat to preserve it.
- Wipe up spills as soon as you detect them on your table.
- Don’t let your table air dry after washing it. Use a dry towel to ensure that all wetness is wiped from the table as soon as possible.
You must take care of your wooden table if you want it to last in your house. Read our thorough guide on keeping your wooden table for more information on how to care for it. You might also be interested in our guide on caring for and treating oak furniture.
Originally posted on September 28, 2021 @ 10:11 pm
